
Assembling a paper house is a fun and creative project that can be enjoyed by both children and adults. Whether you’re crafting a simple model or a detailed replica, building a paper house can be a rewarding experience. In this guide, we’ll walk you through the steps to create your very own paper house, complete with tips for ensuring a successful project.
Link Domain https://lawadvisors.pamshion.net
1. Gathering the Materials
Before you begin, it’s important to gather all the necessary materials. Here’s a list of what you’ll need:
- Paper: Choose sturdy cardstock or construction paper. The thickness will help your house stand upright and hold its shape.
- Scissors: For cutting out the shapes.
- Glue: A strong adhesive is essential for holding the parts together.
- Ruler: To ensure precise measurements and straight edges.
- Pencil: For tracing and marking measurements.
- Craft Knife (Optional): For cutting more intricate details.
- Decorative Elements (Optional): Markers, colored pencils, stickers, and other embellishments to personalize your house.
2. Choosing a Design
Decide on the design of your paper house. You can either create your own design or find templates online. If you’re a beginner, starting with a simple template is recommended. Templates typically include the walls, roof, windows, and doors, all of which can be printed and cut out.
3. Cutting Out the Pieces
Once you have your template, carefully cut out each piece using scissors or a craft knife. Make sure to follow the lines precisely, as accurate cuts are crucial for a neat and sturdy assembly. Take your time with this step, especially when cutting out smaller details like windows and doors.
4. Folding the Paper
After cutting out all the pieces, the next step is to fold along the indicated lines. Use a ruler to help create sharp, clean folds. This will make it easier to assemble the house and give it a more polished look. Pay close attention to the instructions, as some folds may be mountain folds (folding away from you) and others valley folds (folding towards you).
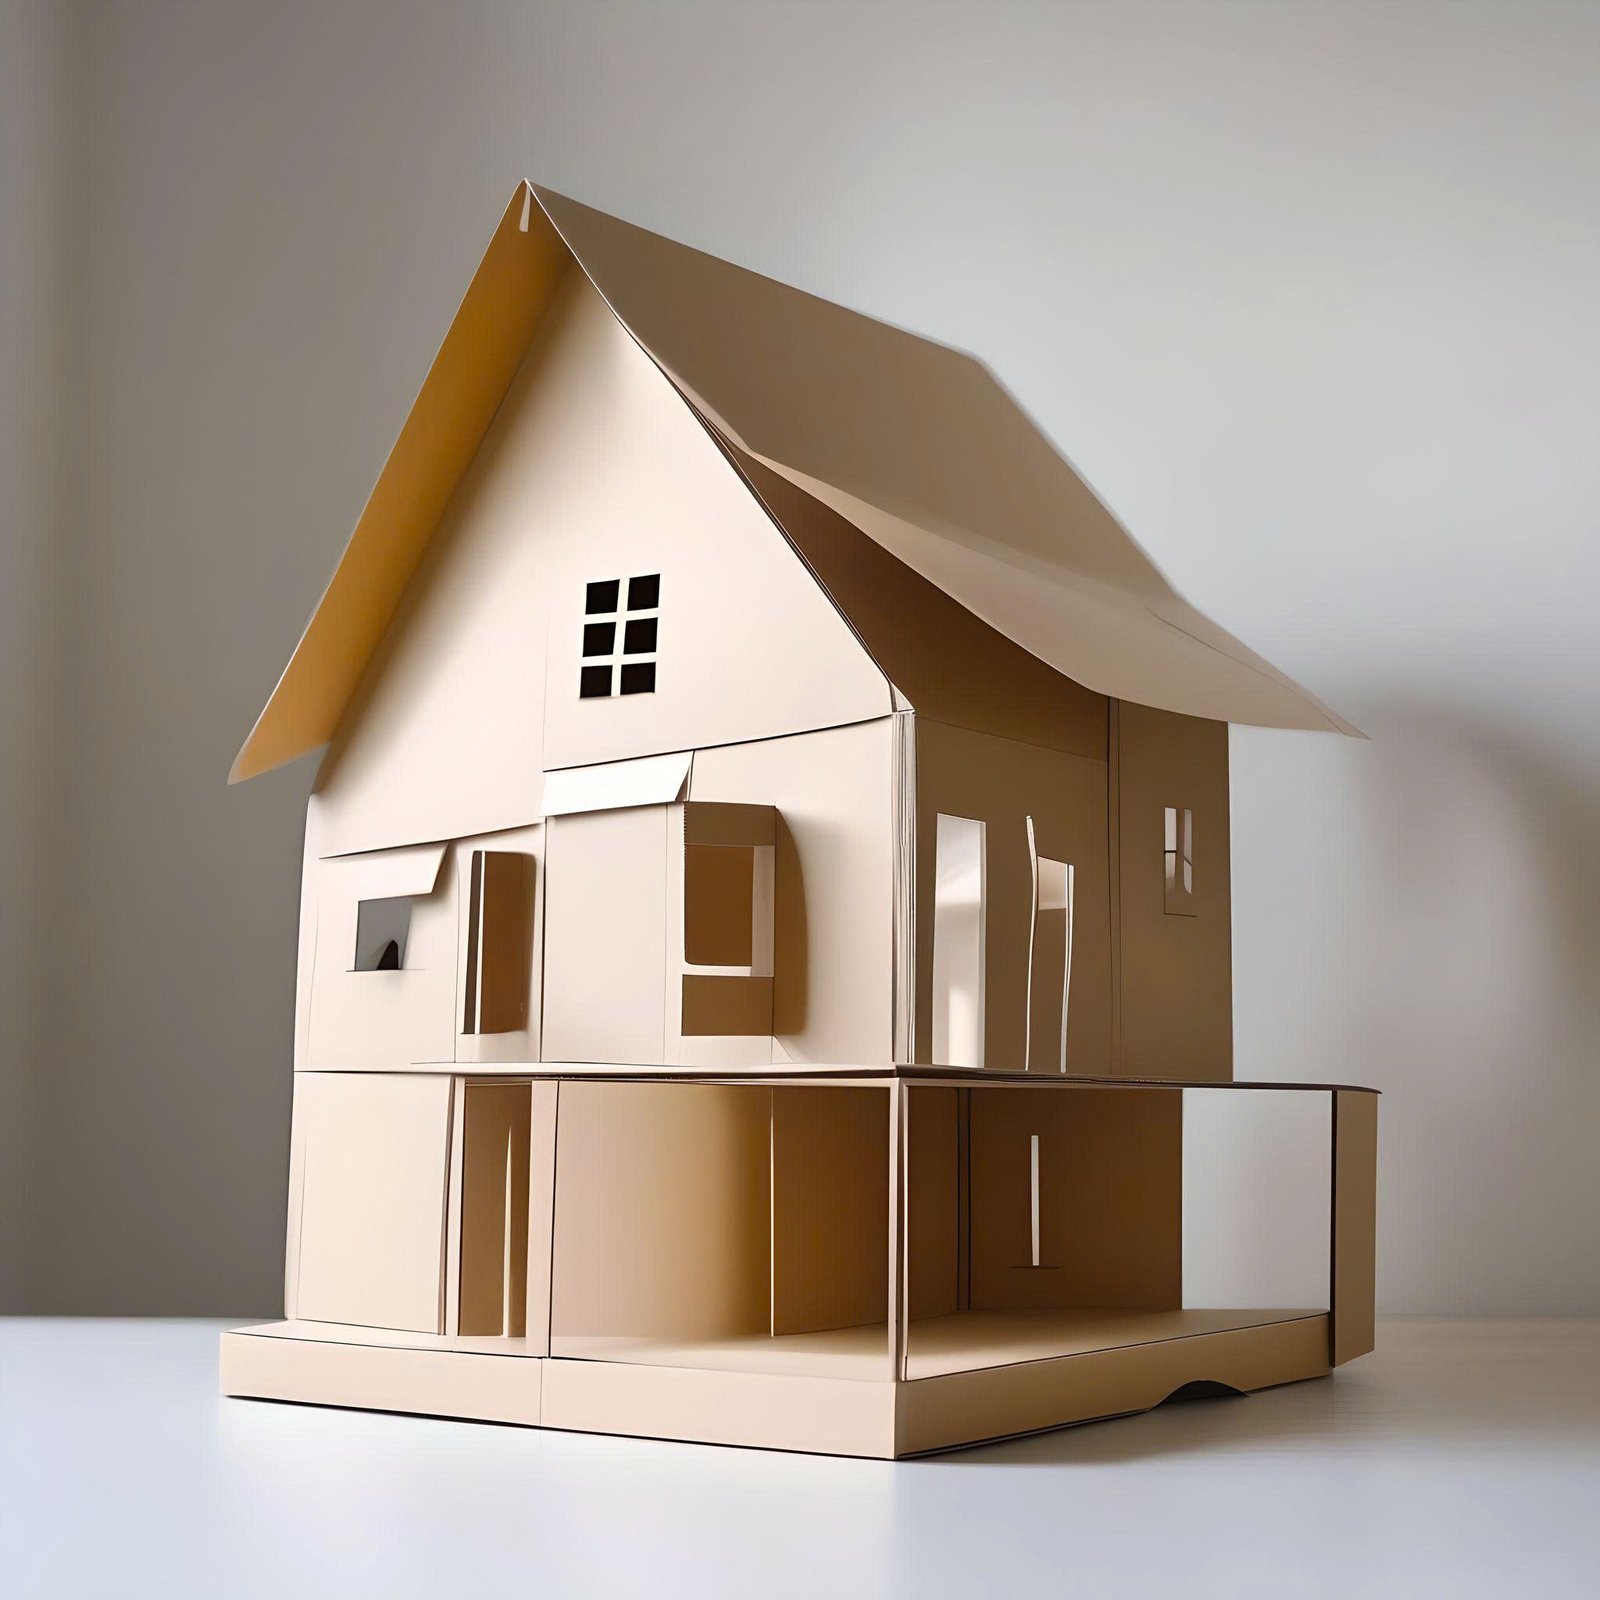
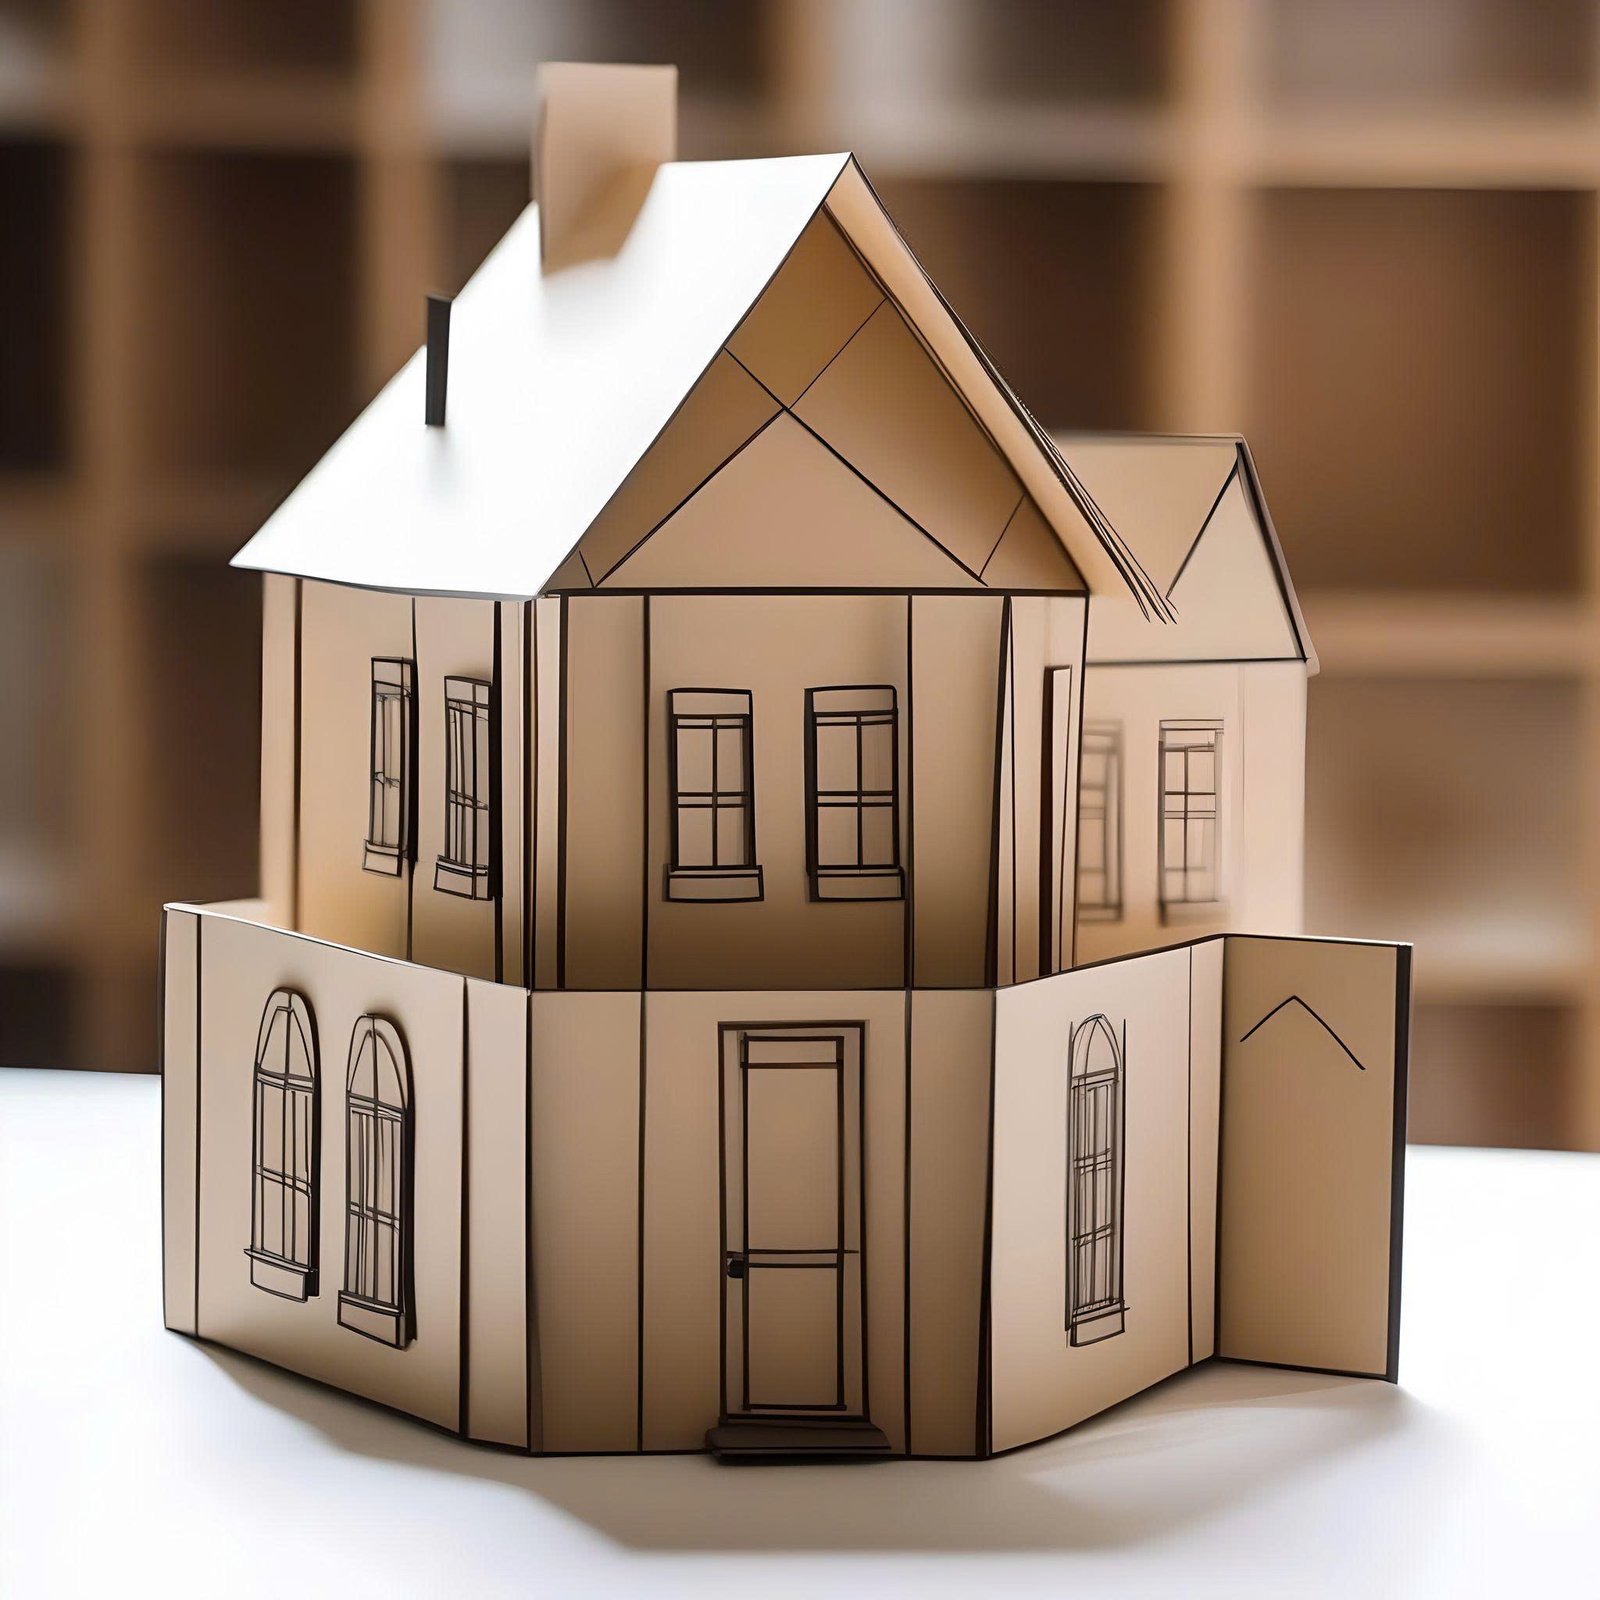
5. Assembling the Walls
Begin by assembling the walls of the house. Apply a thin layer of glue to the tabs on the edges of the walls and carefully attach them together. Hold the pieces in place for a few seconds to ensure the glue sets properly. It’s important to ensure that the walls are aligned correctly to form a stable structure.
6. Attaching the Roof
Once the walls are assembled, it’s time to add the roof. Similar to the walls, apply glue to the tabs of the roof pieces and carefully place them on top of the house. Make sure the roof is centered and aligned with the walls. Hold it in place until the glue dries.
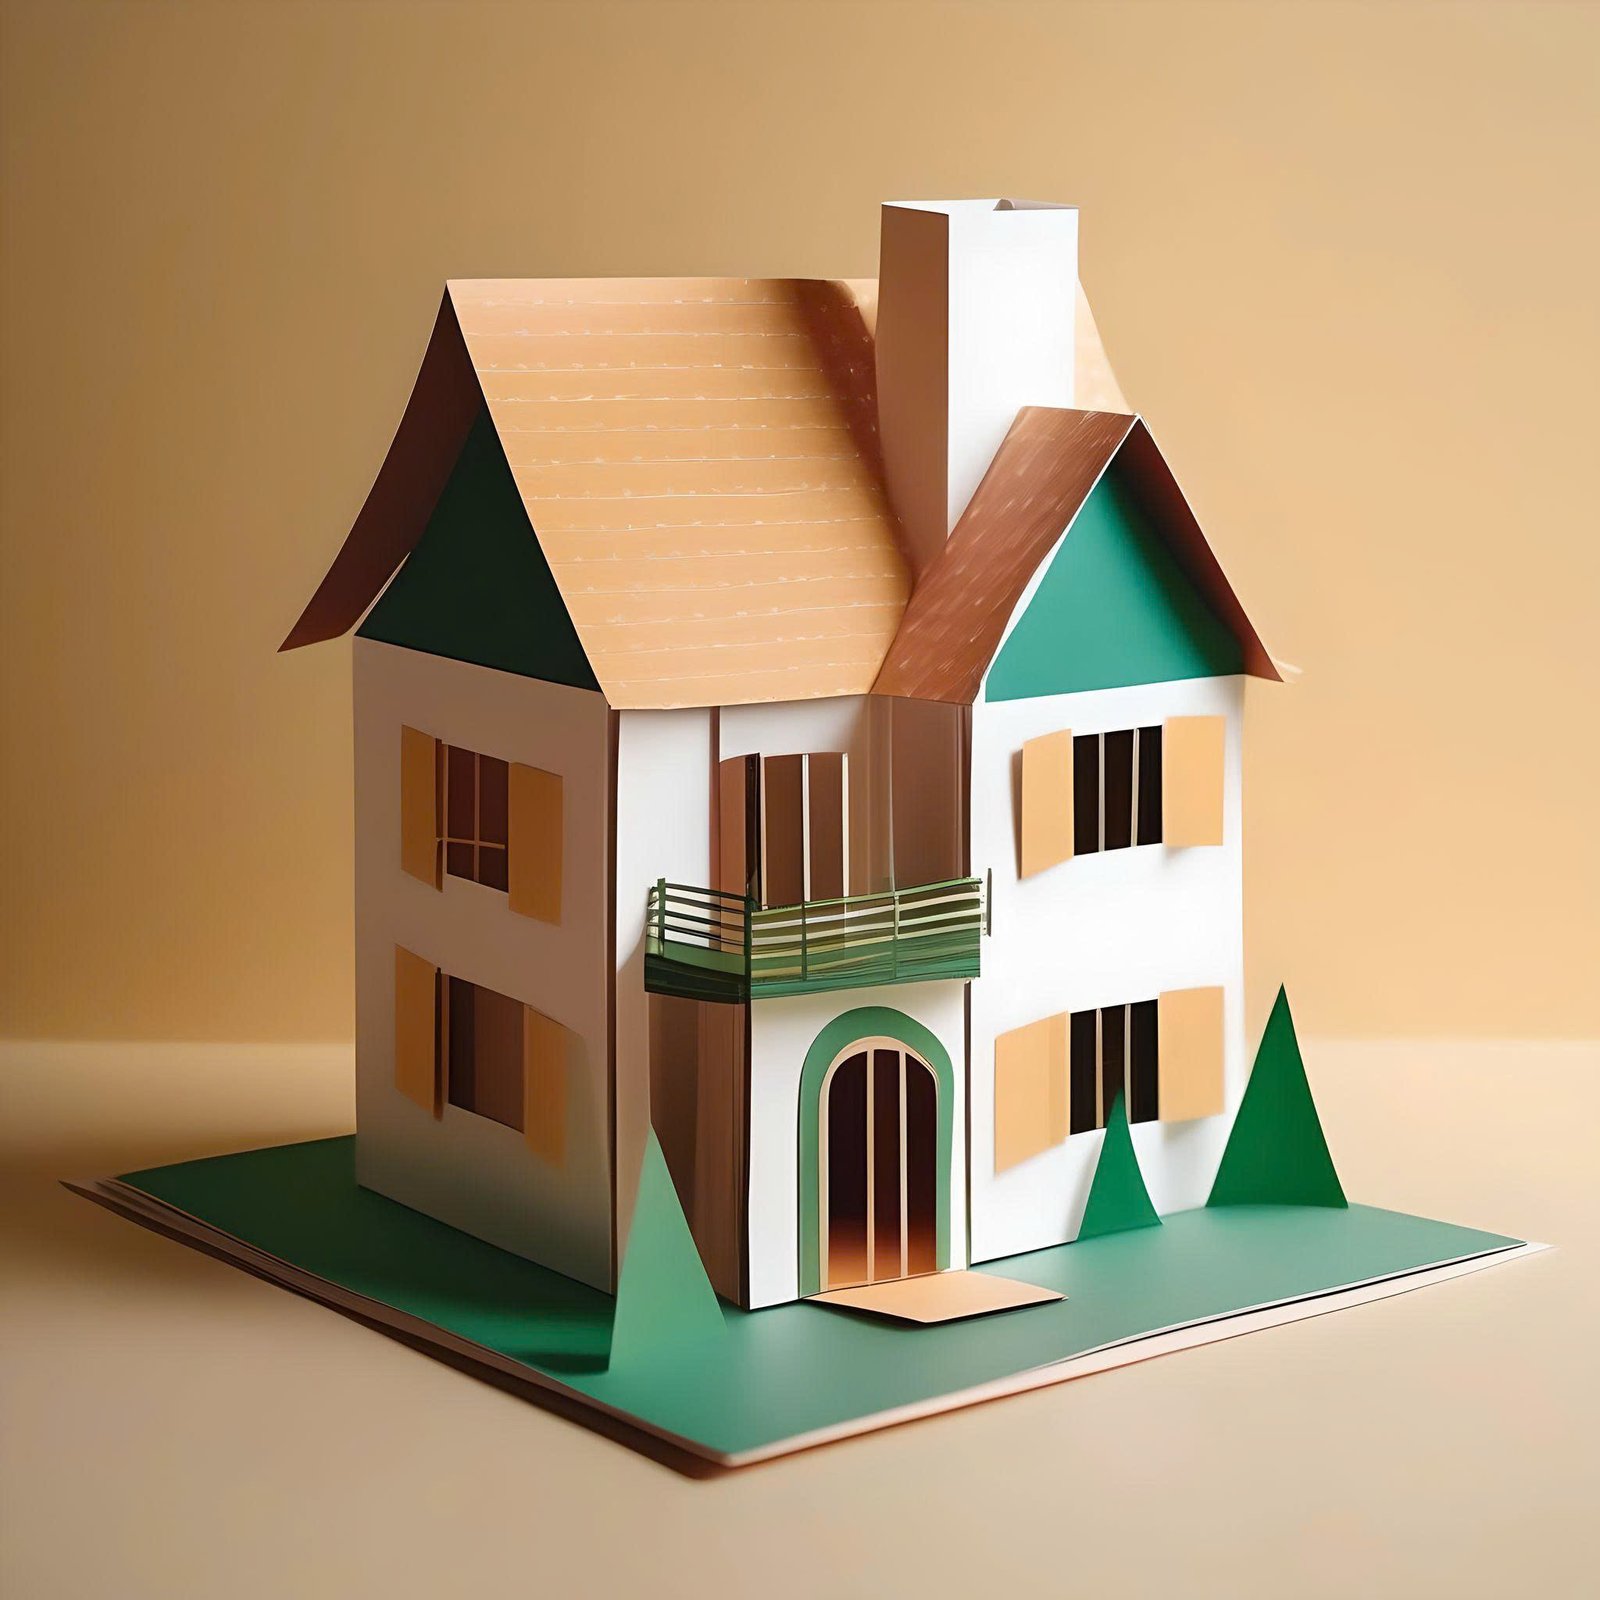
7. Adding Windows and Doors
Now that the basic structure is complete, you can add windows and doors. If your template includes these features, simply glue them onto the walls in the designated spots. If you’re creating your own design, feel free to customize the placement of these elements. You can also use markers or colored pencils to add details like window panes and door handles.
8. Decorating Your Paper House
This is the fun part! Once your house is fully assembled, it’s time to get creative with decorations. Use markers, stickers, or other embellishments to add personality to your paper house. You can draw bricks on the walls, add flower boxes under the windows, or even create a chimney out of additional paper.
9. Ensuring Stability
To ensure that your paper house is stable and lasts longer, consider reinforcing it with extra layers of paper on the inside, particularly at the corners and roof edges. This will provide additional support and prevent the house from collapsing or bending.
10. Showcasing Your Paper House
Now that your paper house is complete, it’s time to display it! Place it on a shelf, use it as a decorative piece in your home, or even give it as a handmade gift. If you’ve made multiple houses, you can create a small village or town scene.
Tips for Success
- Precision is Key: Take your time with each step to ensure precise cuts and folds. This will make the assembly process smoother and result in a neater finished product.
- Experiment with Different Designs: Don’t be afraid to try out different designs and styles. You can make a variety of houses, each with its unique look and character.
- Use Quality Materials: The sturdier the paper, the more durable your house will be. Investing in good-quality materials can make a big difference in the final result.
Conclusion
Assembling a paper house is a wonderful way to express your creativity and enjoy a hands-on crafting experience. By following this guide, you’ll be able to create a charming paper house that you can be proud of. Whether it’s a solo project or an activity shared with family or friends, building a paper house is an enjoyable and rewarding endeavor. So, gather your materials, pick a design, and start crafting your very own paper masterpiece!